LightBurn Setup For A Galvo Fiber Laser (PC)
LightBurn Setup For A Galvo Fiber Laser (PC)
What You’ll Need
- Computer with Windows OS
- Supplied USB Thumb Drive
Need assistance?
Book time with a qualified technician and get help setting up and navigating LightBurn.
Software and Driver Installation
- On the fiber laser control cabinet, turn the laser on by pushing the buttons in the correct ON sequence.
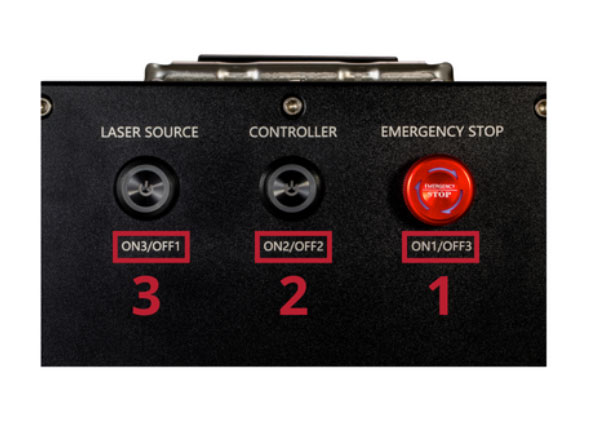
Fiber laser control cabinet - Go to https://lightburnsoftware.com and click on Download / Trial.Even if you have already installed LightBurn on your computer, you will need to run the installer again for the fiber laser.

Download Trial - Select your version of Windows from the list to initiate the download.
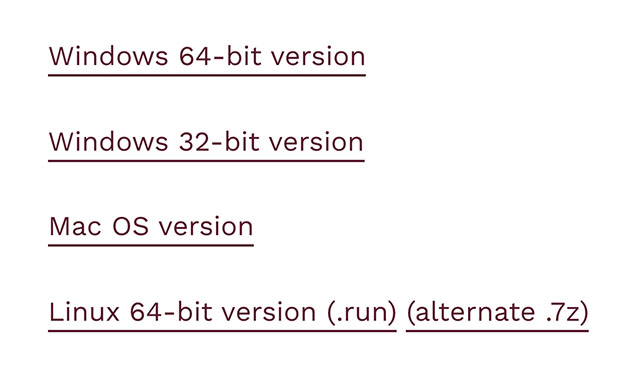
Windows versions Note: If you’re not sure which version you have, type the words System Information into the Search field located at the bottom left corner of your Taskbar. Look for System Type to determine if you have version 32 or 64.
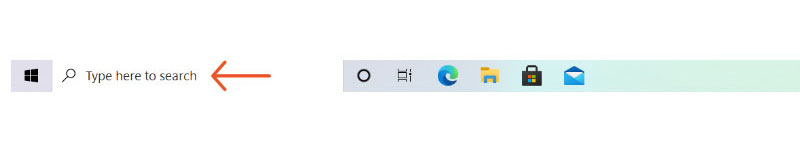
Search field located at the bottom left corner of Taskbar. 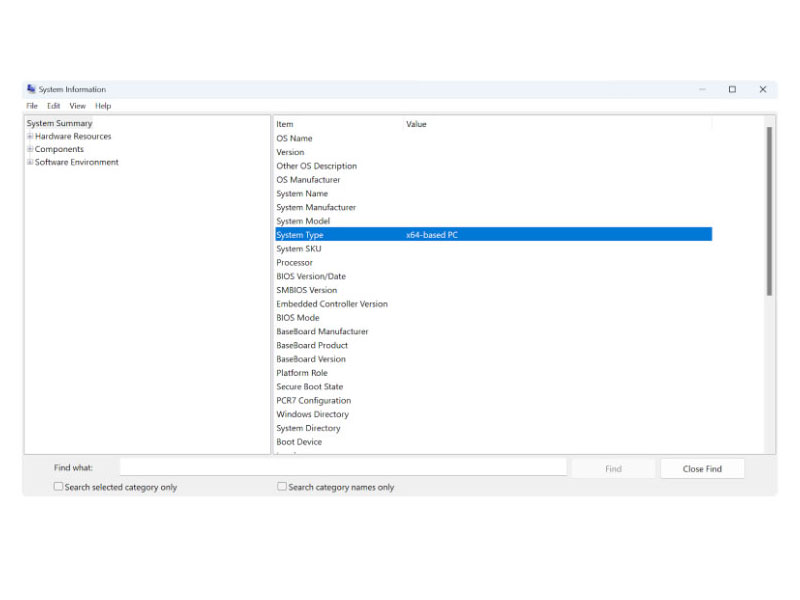
System Type, highlighted - Double-click to launch the Lightburn .exe file.
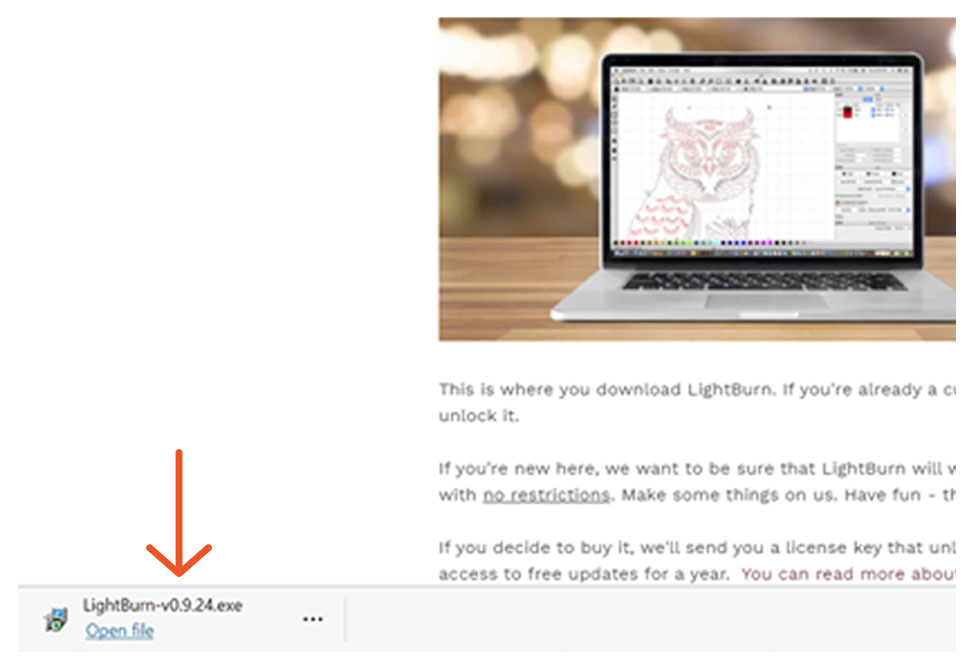
Lightburn .exe file - If you receive the message “Do you want to allow this app to make changes to your device?” Click Yes to continue.
- Click Next to create a shortcut to Lightburn on your desktop.
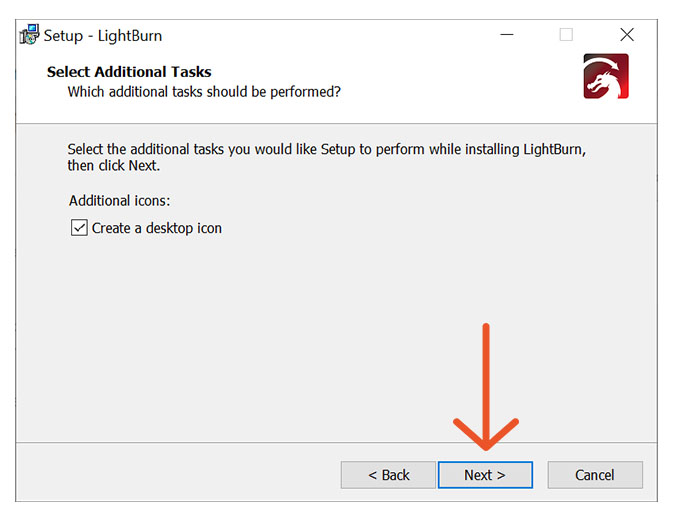
Setup LightBurn window - Click Install to continue.
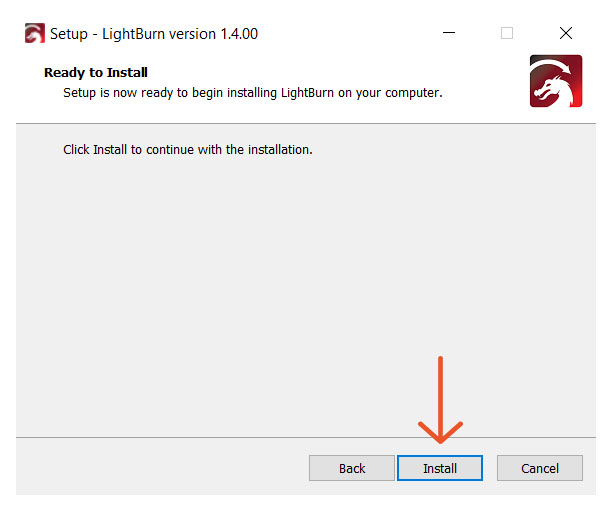
Setup LightBurn window - When the “Completing the LightBurn Setup Wizard” pops-up check both Install EzCad2 driver (used by galvos) and Launch LightBurn.If you use LightBurn for your CO2 laser, ensure the Install FTDI serial driver (used by DSPs) is also checked.Click Finish.
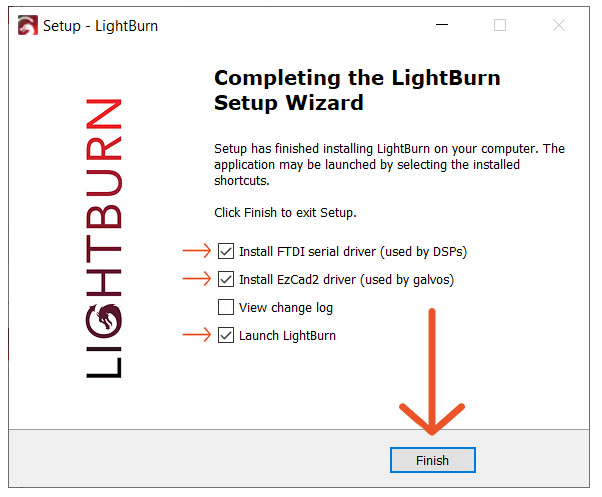
Setup LightBurn window - If you receive the message “Do you want to allow this app from an unknown publisher to make changes to your device?” Click Yes to continue.
- Click Extract to unpack the Windows driver and launch the installer.
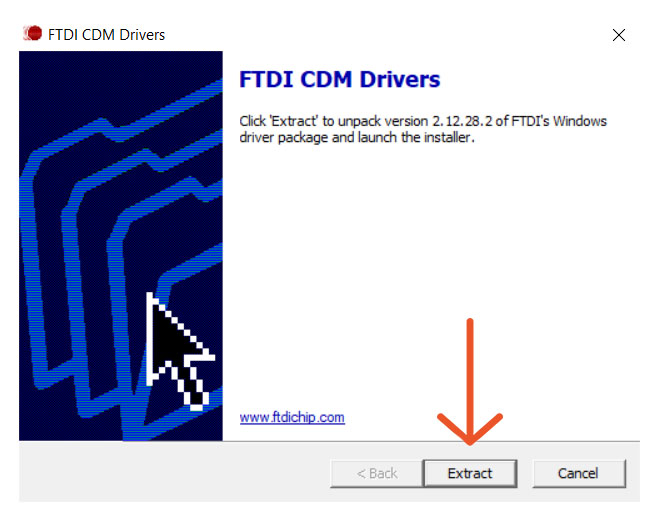
FTDI CDM Drivers - Click Next to continue.
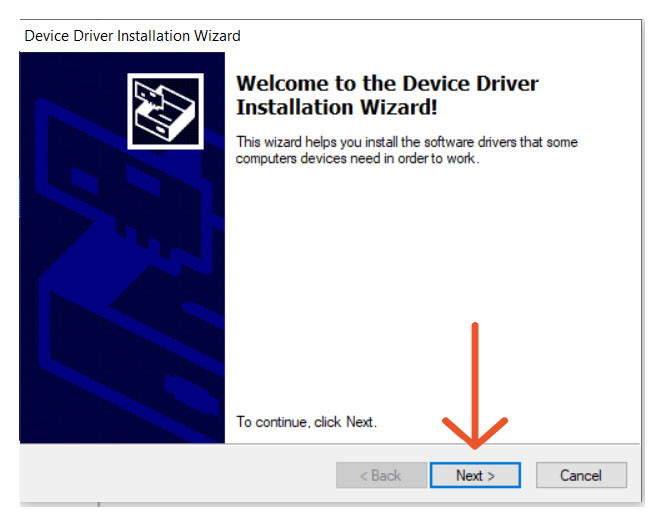
Device Drivers Installation Wizard - If you agree to the terms, check the box to confirm you have read and accept the Microsoft Visual license terms, and click Next.
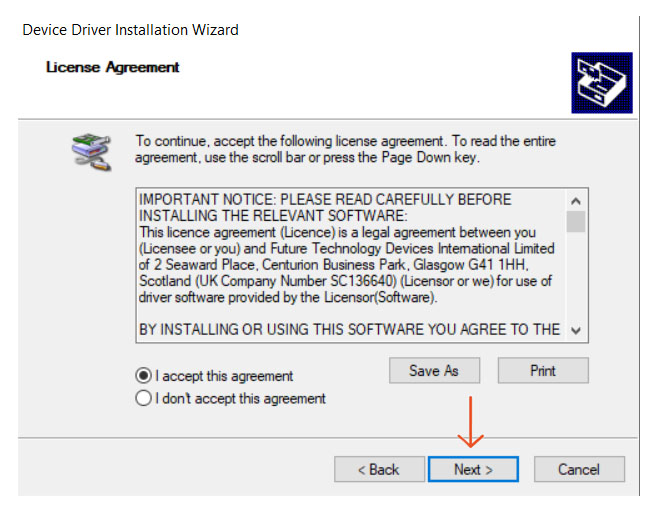
Device Drivers Installation Wizard - Click Finish.
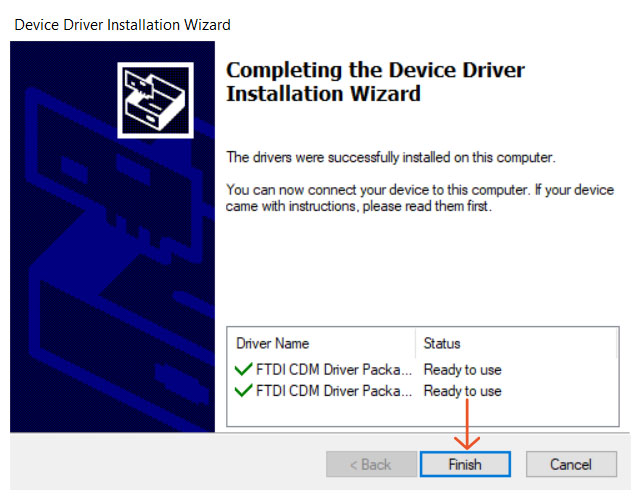
Device Drivers Installation Wizard - If you receive the message “Do you want to allow this app to make changes to your device?” Click Yes to continue.
- Click Next again.
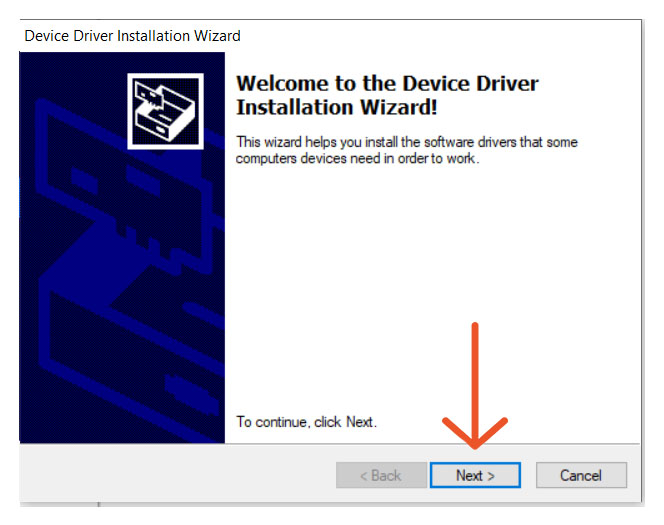
Device Drivers Installation Wizard - If you receive the message “Would you like to install this device software?” Click Install to continue.
- Click Finish.
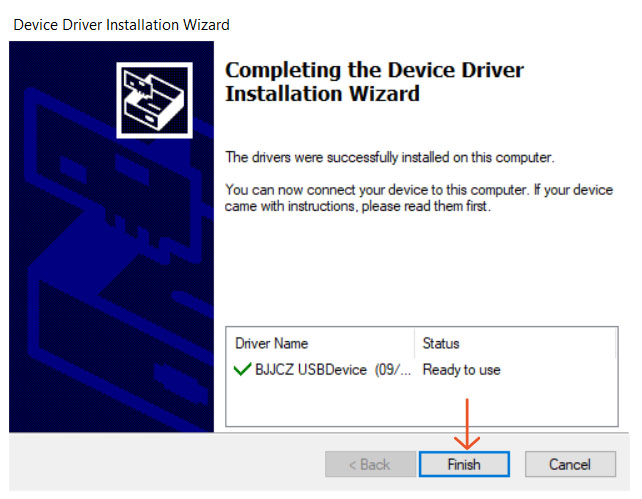
Device Drivers Installation Wizard - Plug the USB thumb drive that came with your laser into an open USB port on your computer.
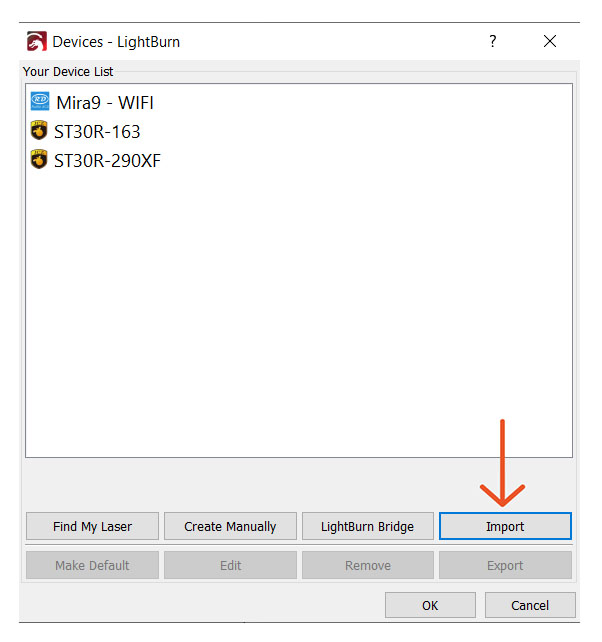
- If the Devices Window is open, click Import. If not, click the Devices button in the Laser Window, and then click Import.
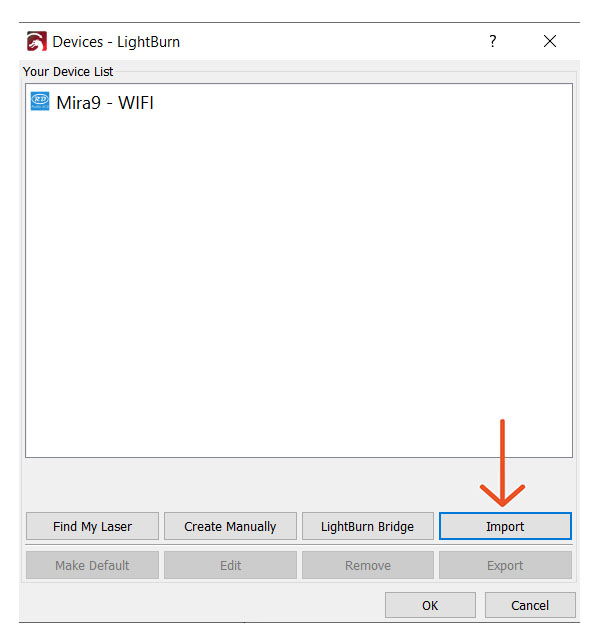
Devices List - Navigate to the USB Drive on your computer.
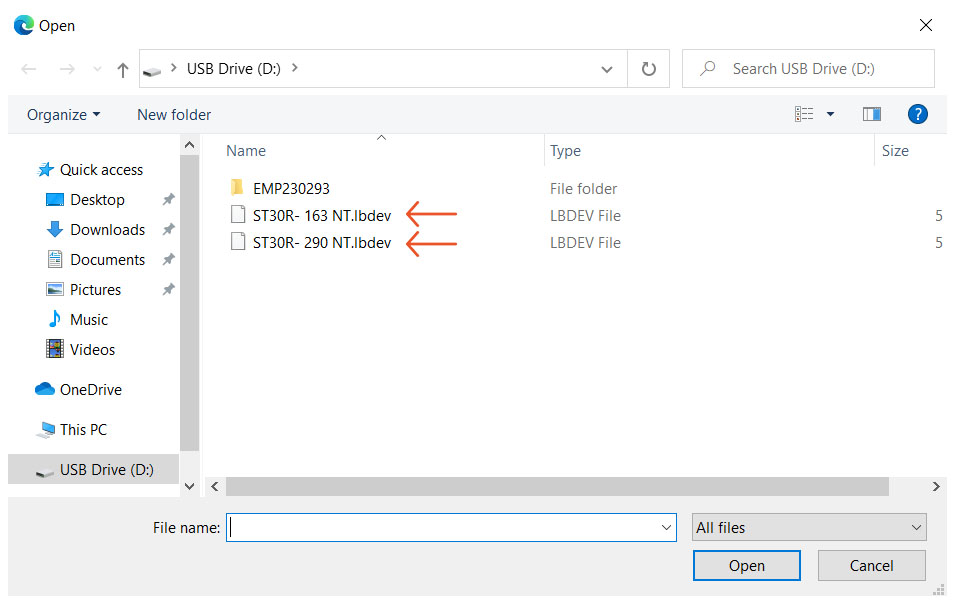
Find USB Drive - Select the file ending in .lbdev that corresponds with the lens that is currently installed in the Galvo Fiber Laser and click Open.
Note: There are multiple .lbdev files on the supplied USB Thumb Drive. These files represent the optional lens sizes available for the EMP Galvo Fiber Lasers. If you purchased additional lenses, repeat these steps to set up a separate device for each one.
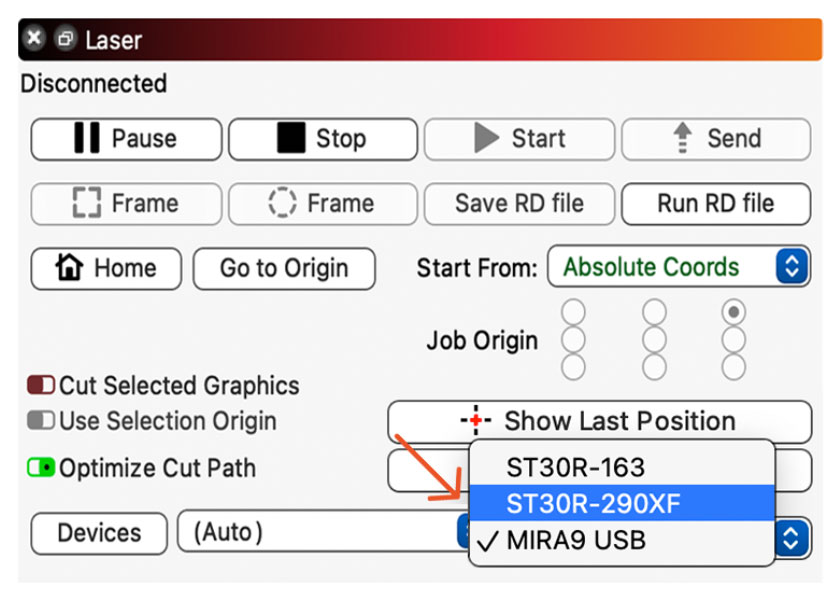
- Select the new device that corresponds with the lens that is currently installed in the Galvo Fiber Laser from the Devices list and click OK.
Devices List - In the Laser Window, select the new device from the dropdown menu.
Laser Window - Plug one end of the USB cable that came with your laser, directly into an open USB port on your computer.
- Plug the other end of the supplied USB cable into the USB port located on the back of the cabinet.
- In the Laser Window, right-click the Devices button to reset the connection. It should now say Ready.
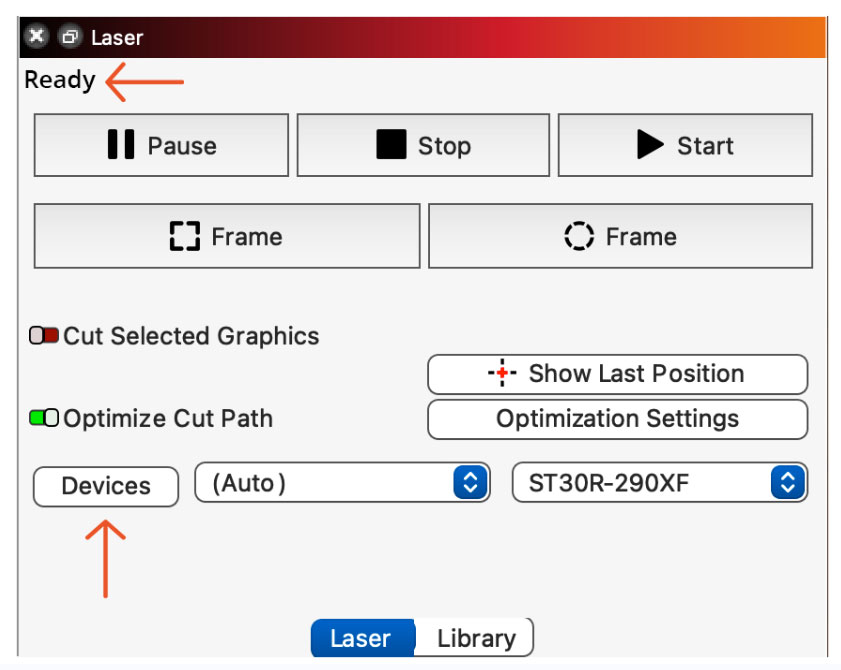
Laser Window
Congratulations! LightBurn is now paired with your Galvo Fiber Laser!